|
||||||||||||||||||||
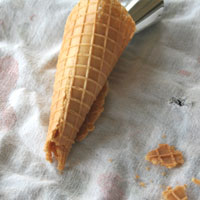
The best way to eat ice cream is on a fresh waffle cone. You can enjoy every last drop of the ice cream and get to eat the delicious cone. So good and so fun! |
||
Batter |
||
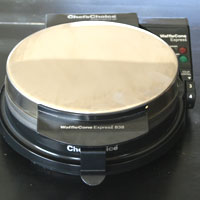
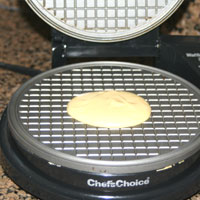
Heat waffle cone iron according to the (1) manufacturer’s directions. |
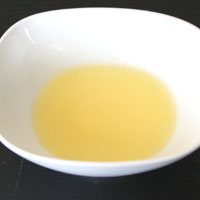
Melt butter in microwave until just melted. Set aside to cool. |
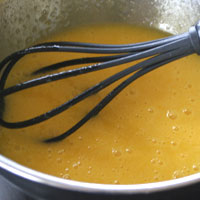
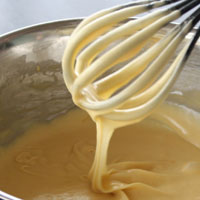
Whisk eggs, salt, and sugar until pale yellow. About one minute. |
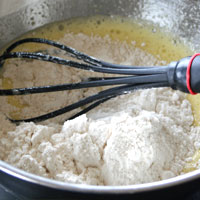
Add flour and whisk another 10-15 seconds. |
Add butter and vanilla and whisk until smooth. |
|
Shaping |
||
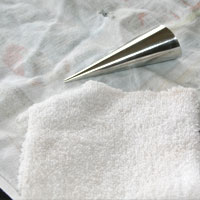
Prepare shaping area with a kitchen towel and (2)shaping tool. |
Place one heaped tablespoon (1 oz) of batter in the center of the hot iron. Close iron and cook according to the (3)manufacturer’s directions. |
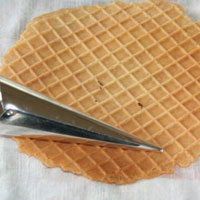
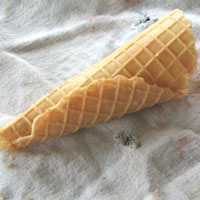
Remove cone when it’s just beginning to (4)brown. Close iron after removing to keep it hot for the next cone. Working quickly, lay it flat on the towel and form around the shaping tool. |
Hold 5-10 seconds until it cools and hardens. If you are making a cone shape be sure to pinch the bottom to seal so the ice cream won’t drip out. |
Place on a cooling rack to finish cooling. Repeat with remaining batter. Top with ice cream and enjoy! Package gently in plastic wrap. Keep at room temperature. For best taste and crispness use the same day. However, they are good and quite crisp up to two days. |
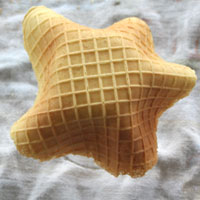
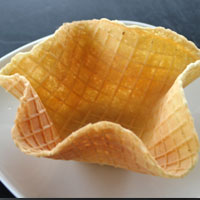
Sizes |
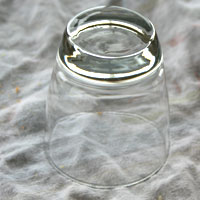
Bowl Cone |
||
Place a glass upside down on work surface. |
Immediately after removing cone from the iron, place on bottom of glass and gently press on four or five points to form a nice shape. Hold 5-10 seconds until it begins to harden and cool. |
Remove to cooling rack to cool completely. |
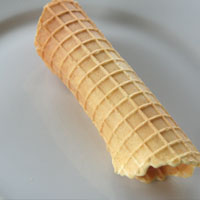
Cannelloni |
||
Cook half the batter you would for a cone (1/2 T, .5 oz). When it starts to brown, remove from iron and place on kitchen towel. Gently roll to desired size. For best appearance roll according to the lines the waffle cone iron has made. Hold 5-10 seconds until it begins to harden and cool. Place on a cooling rack to cool completely. Fill and serve. |
||
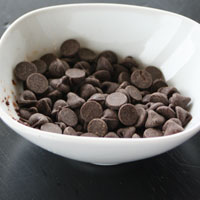
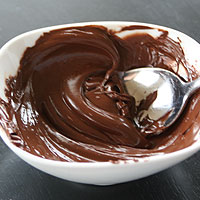
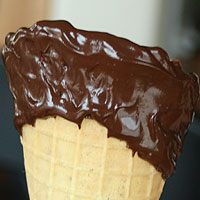
Dipping |
||
Melt chocolate in a microwave one minute. |
Stir and microwave 30-60 seconds longer. Stir until smooth. |
Dip cone in chocolate or spread it around the top with a spoon. |
Sprinkle with nuts, coconut, sprinkles, etc. Set on cooling rack to harden slightly. |
||
Problems |
||
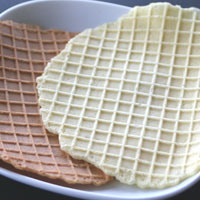
Overdone and Underdone The cone on the left was cooked about 15 seconds too long. It will taste burnt and crumble when you try to shape it. The cone on the right was cooked about 10 seconds too short. It will shape fine, but never be crisp.
|
Slightly Overdone This cone was cooked 5-10 seconds too long and looked like it might be fine, but when I went to shape it, it cracked. It will also crack if it isn't shaped immediately. |
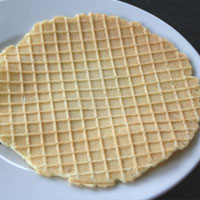
Just Right This one was cooked just right. It is golden brown.
|
Fresh Waffle Cones |
||


Recipes