 |
|
|
The Biggest Meal of the Year: I'm not talking about the night you get
cajoled into a Chuck-a-Rama buffet and end up eating your weight in
all-you-can eat meat cooked in lard. I mean Thanksgiving, that culinary holiday
to beat all, where the onlycajoling
involves finding a good place to take a nap when it's all over.
Read More |
|
|
|
|
|
|
 |
|
|
This veggie is an A-lister on the super
food list,
which is great because it's so sweet that it might as well becandy.
I like to have my candy with nutrients, don't you? Check out the fiber
content on this vegetable: that's more than your oatmeal can boast, and it
holds all that fiber without any added fat. It's a complex carb as well, so
even though it tastes sugary, it isn't going to spike your blood
sugar.
Pretty super, right?
Read More |
|
|
|
|
|
|
|
|
 |
|
|
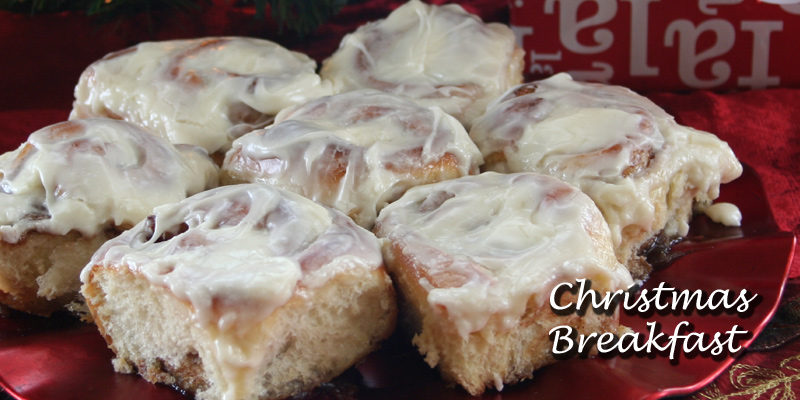
The Easter tradition is one of my Family Favorites, mostly because I love a good scavenger hunt and eggs make the best hidey-holes! You can put anything in those little plastic eggs, and I swear it's more exciting than Christmas. (I'm easily amused.) We've put together some dishes to complete a great Easter meal and a Menu Planner to keep you out with the hunters instead of stationed behind the kitchen counter.
Read More |
|
|
|
|
|
|
|
|
 |
|
|
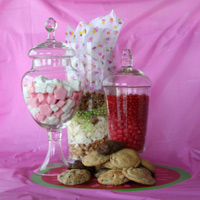
I'm always looking for a reason to throw a party because I'm addicted to
those party magazines that come in the mail. I sometimes buy cute
invitations "just in case" I
might want to use them someday. Maybe it's myinner-child looking
for a way to get into the action...
Read More |
|
|
|
|
|
|
|
|
 |
|
|
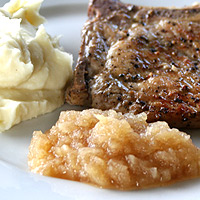
Pan Searing is Fun!
This method of cooking meat is so versatile that I
thought it was worth exploring in greater depth. If you are not into
lengthy explanations of simple things, skip right to the recipes. Give
Ashley's Curry Chicken a try or my Cranberry Pork Chops. For a quick meal, sear some chicken for a salad. The result is tender and moist meat that is great sliced on just about anything....
Read More
|
|
|
|
|
|
|
|
|
 |
|
|
Kid's Lunch
When my daughter started first grade I was trying to
figure out what to pack her for lunch. Walking through the store I saw
chips, juice boxes, snack cakes, fruit snacks, crackers and packaged fruit.
Basically, if I packed this she would get sugar, salt, and fat for
lunch.....
Read More |
|
|
|
|
|
|
|
|
|
|
|